If you operate using a lead-based model rather than selling products online, the setup process typically consists of 3 steps: Creating a business, creating a landing page, and creating a CPL campaign.
This allows you to set up a complete workflow where partners send traffic to your landing page, and new inquiries enter the system as leads for you.
It is recommended to follow these steps in order:
Step 1: Creating a Lead-Based Business
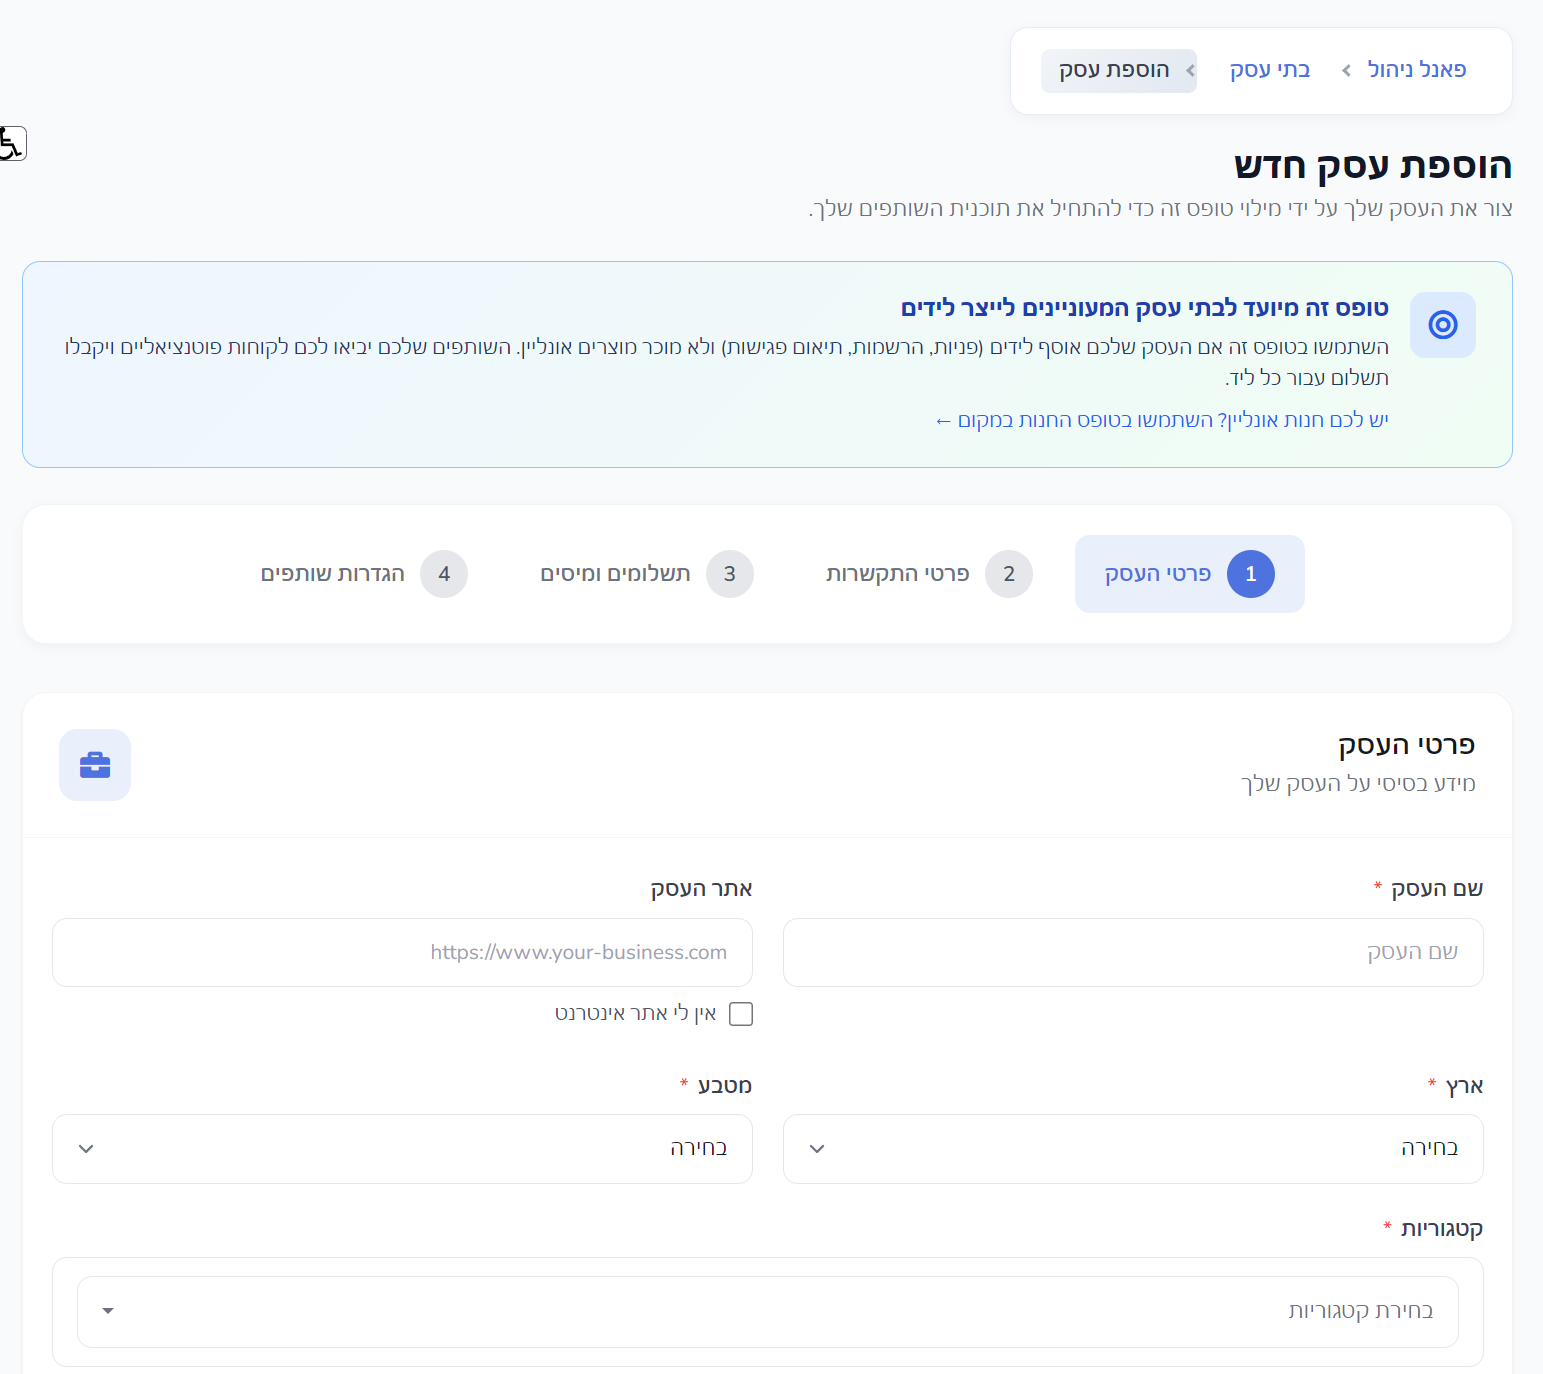
In the business creation screen, a message will appear explaining that this form is intended for businesses that collect leads, such as inquiries, registrations, or appointment scheduling.
If you have an online store that sells products, use the dedicated store form. If your goal is to receive inquiries from partners - this is the correct screen for you.
Business Name | The name that will appear in the system to identify your business to campaigns and partners. |
Business Website | You can enter your website URL, or select that you don't have a website if you work exclusively with landing pages. |
Country and Currency | Choose the country and currency in which you will manage payments and commissions. |
Categories | Select the relevant business field to categorize it correctly within the system. |
Logo | It is recommended to upload a business logo to maintain consistent branding across various screens. |
Contact Details
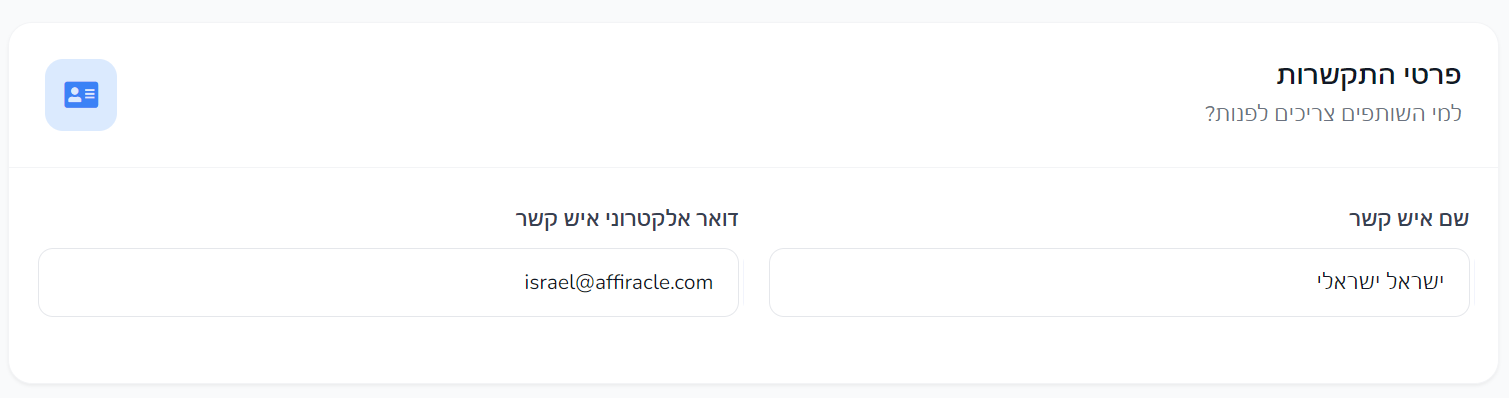
Here you define the contact person whom partners or the system team can contact when necessary.
It is recommended to enter a full name and an active email address that is used daily.
Payments and Taxes
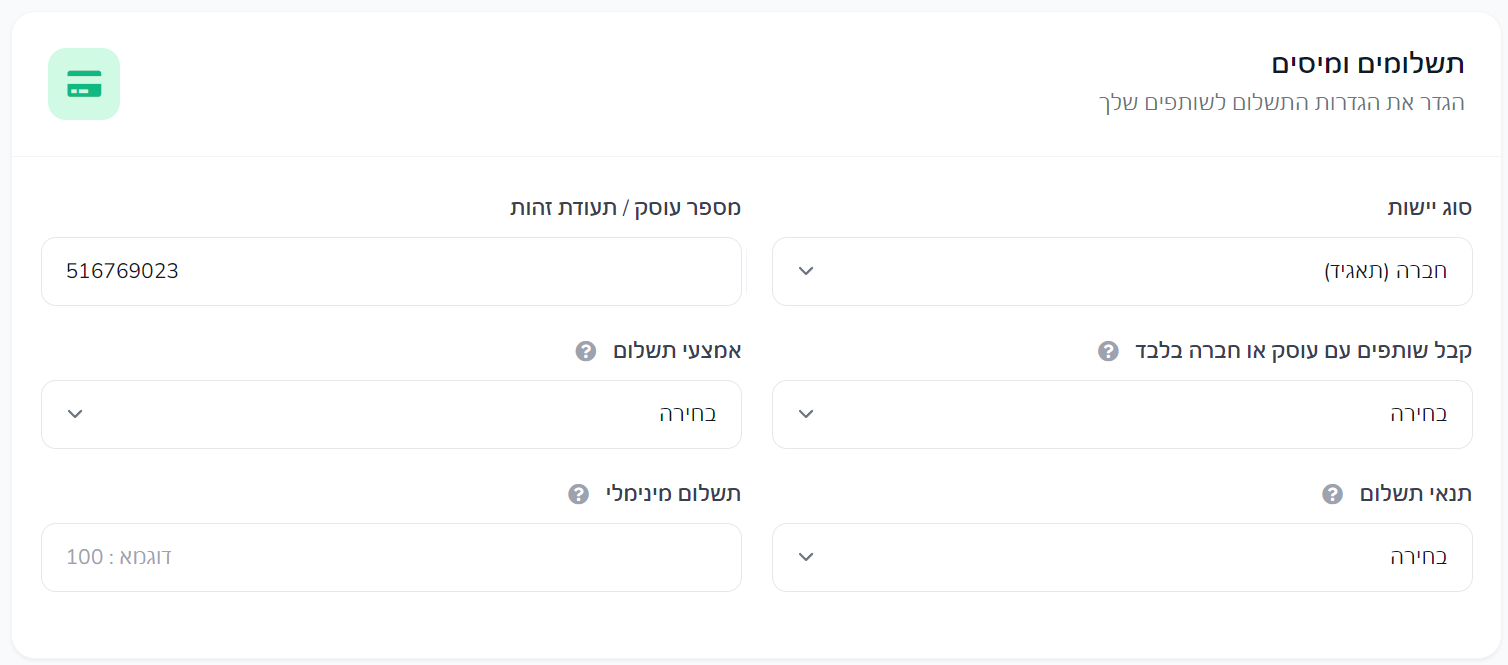
At this stage, you define the entity structure, tax details, and payment method for partners.
Entity Type | Choose whether you operate as an individual, company, partnership, or any other relevant entity based on your country. |
Tax / ID Number | Enter the identification number for payment and accounting purposes. |
Pay Only to Partners with Tax ID | You can set the system to only accept partners who have provided a tax ID. |
Payment Method | Choose how you will pay partners, such as Bank Transfer or PayPal. |
Payment Terms | Define when payments to partners will be made, such as Net 7 or Net 30. |
Minimum Withdrawal Amount | You can set a minimum threshold below which payment will not be processed. |
Business Partner Settings
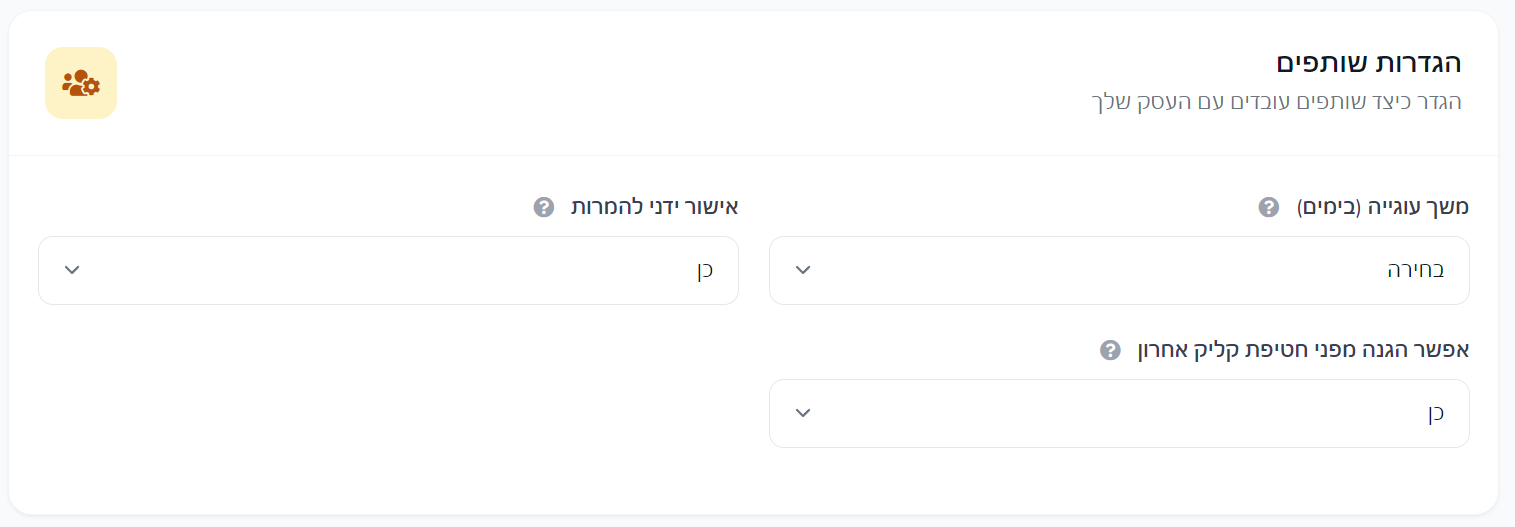
In this step, you can define general characteristics that will affect how partners work with your business.
Among other things, you can choose the cookie duration, whether every conversion requires manual approval, and whether to enable last-click protection.
After filling in all fields, click Create Business.
Step 2: Creating a Landing Page
Once you have an active business, you can move to the Landing Pages screen.
The system presents a short explanation of the process: you build a landing page, link it to a CPL campaign, and partners send traffic to it that generates leads.
There are several options for creating a landing page:
- Create from scratch using a visual editor.
- Choose from an existing template and replace the content.
- Automatic creation from a website or Facebook page by entering a URL.
Choosing a Template or Automatic Creation
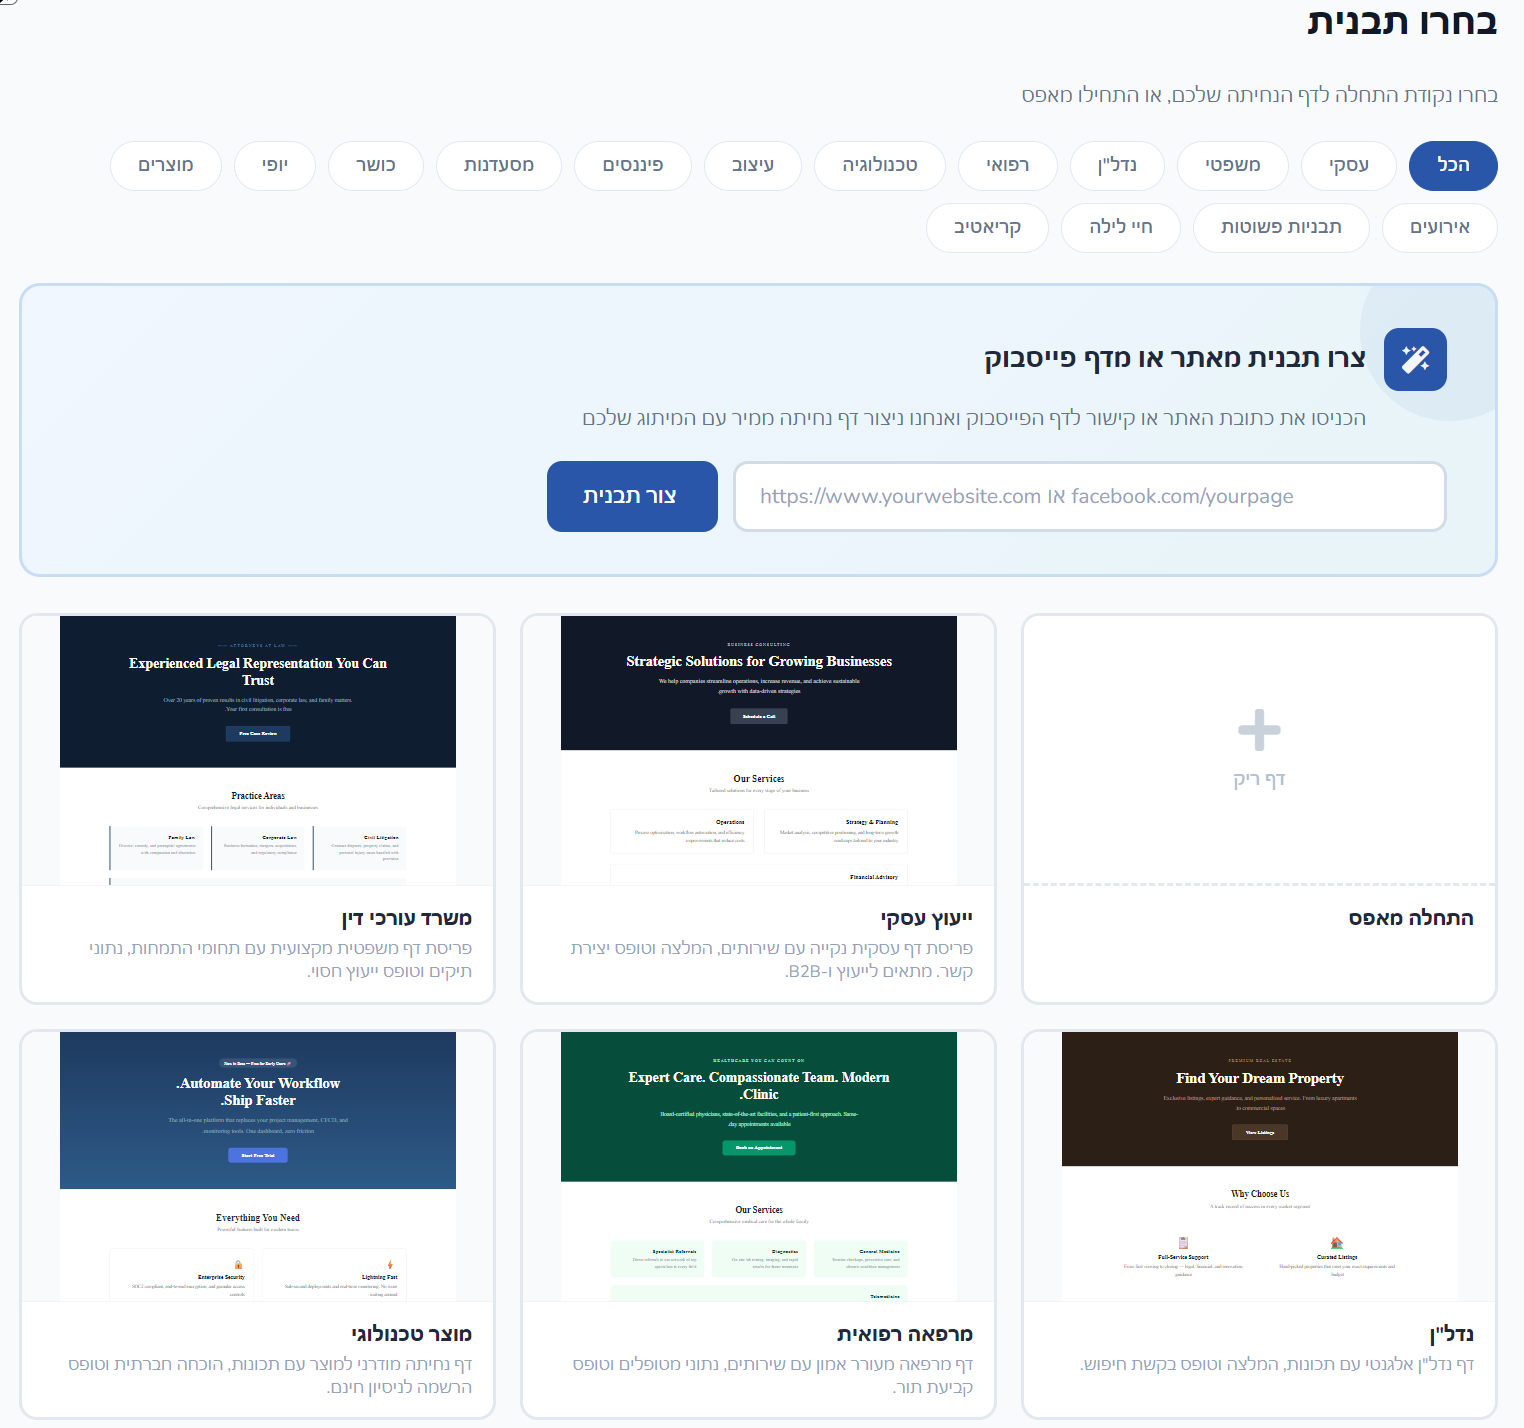
In the template selection screen, you can filter by category, choose a blank page, or enter the URL of your website/Facebook page so the system can create several ready-made variations for you.
After automatic creation, you can select one of the variations and proceed to editing.
Editing Landing Page Content
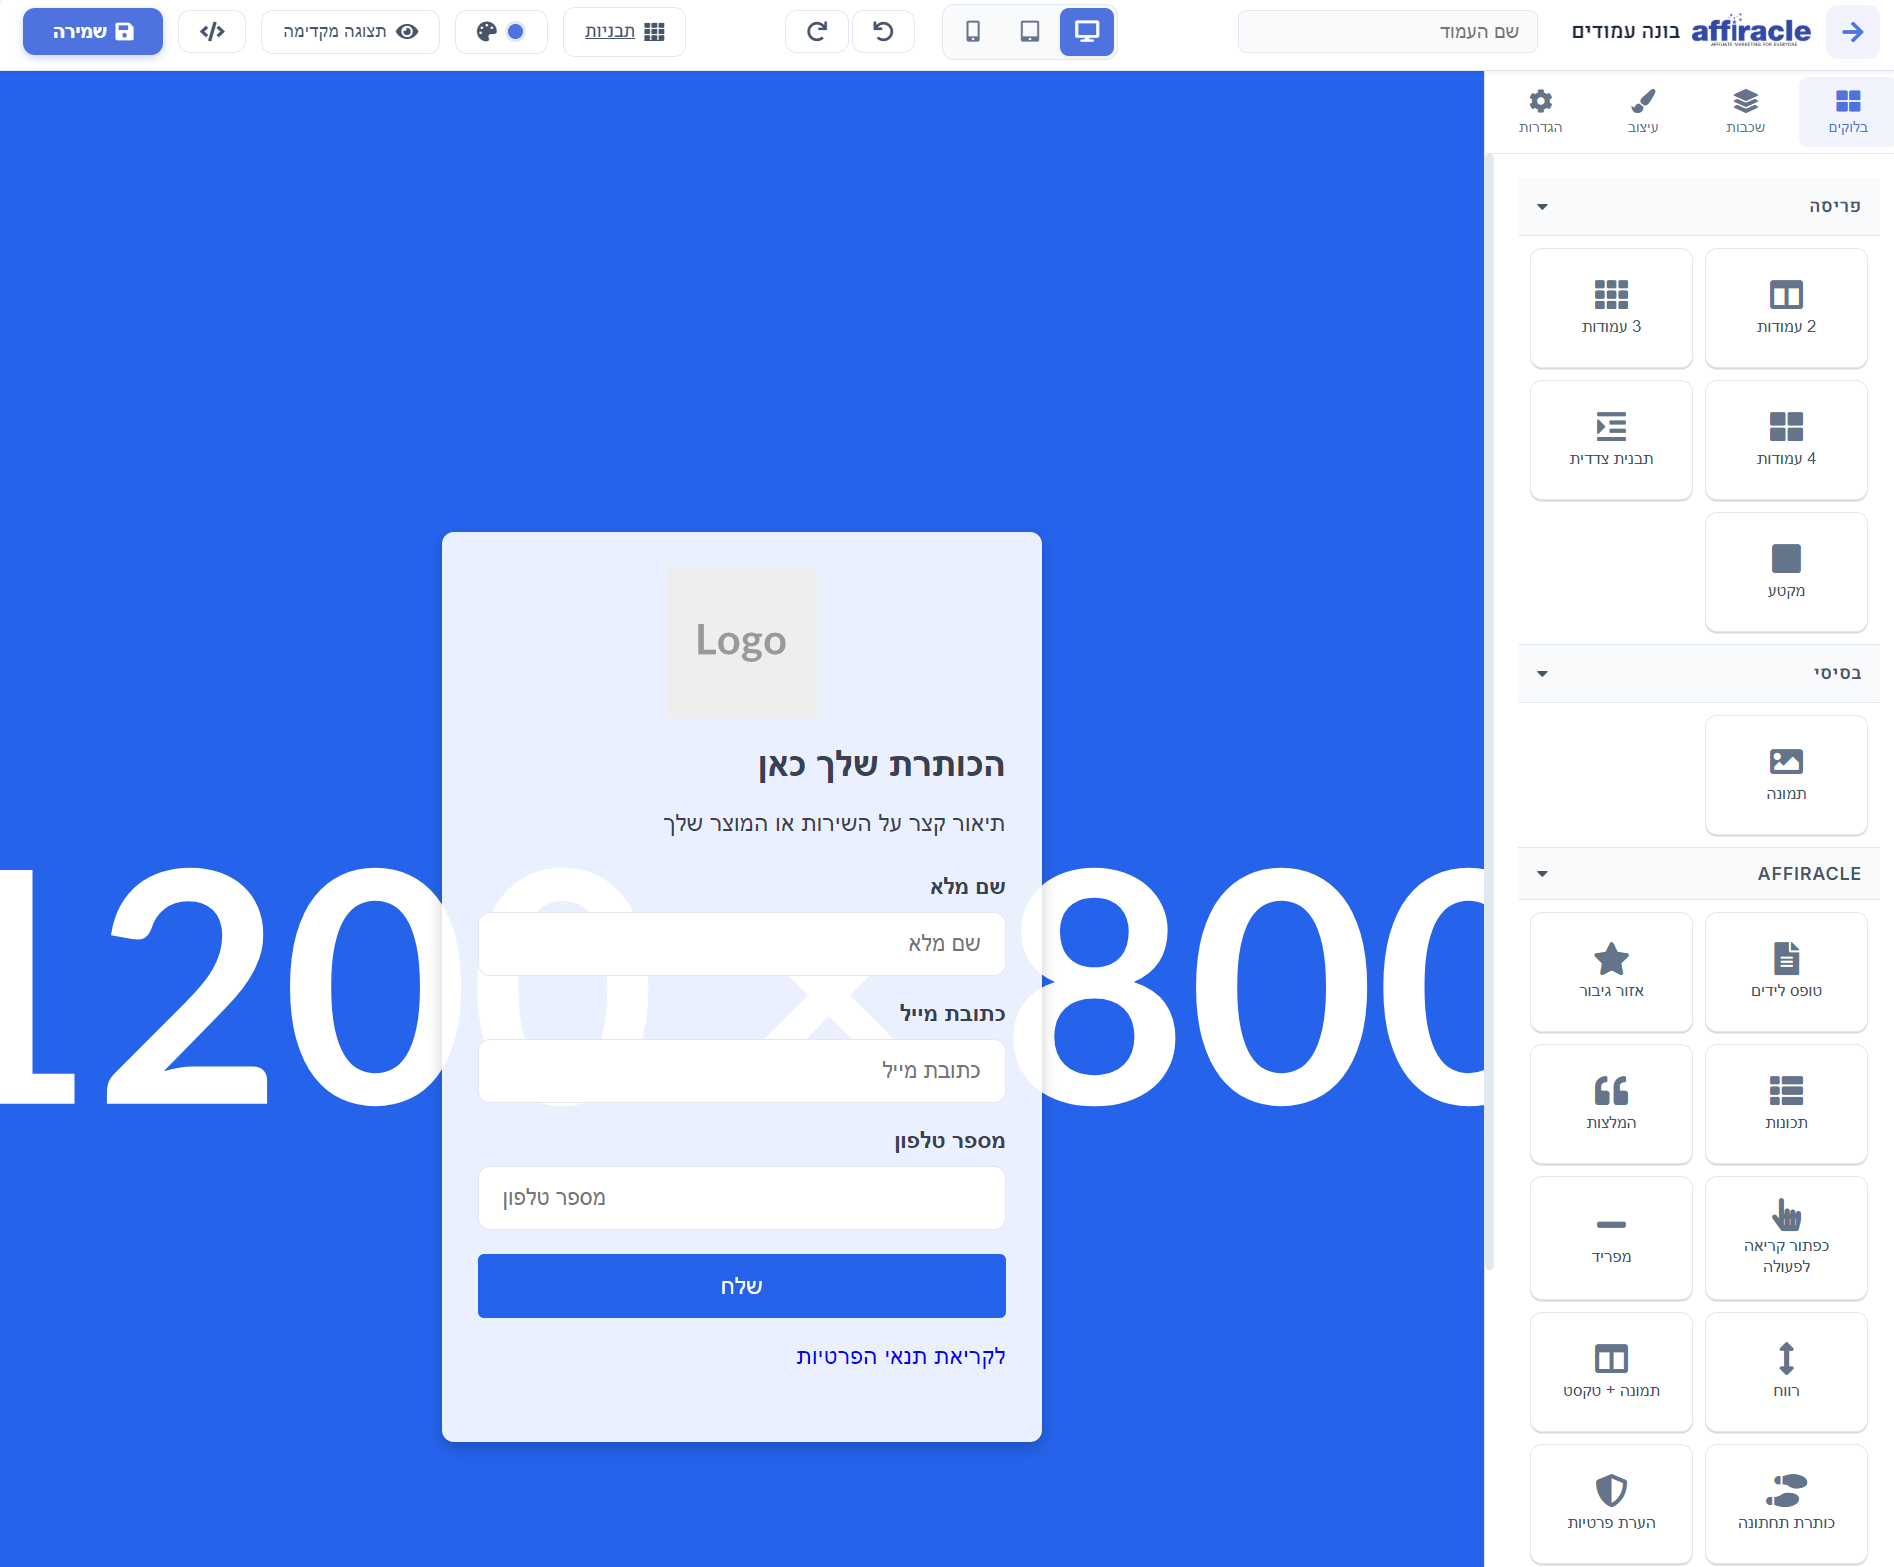
During the editing process, you can update:
Page Name | An internal name to identify the landing page in the system. |
Meta Title | Meta title for the page, if needed. |
Email for Lead Reception | You can enter one or more email addresses that will receive new leads. |
Dynamic Content | The system displays fields based on the chosen template, such as headlines, texts, buttons, images, and descriptions. |
Preview | You can switch between desktop, tablet, and mobile views to check the page before saving. |
Form Fields
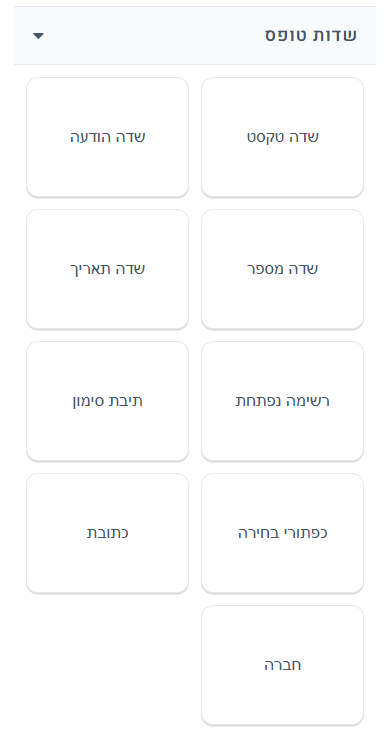
In the Custom Fields step, you can build the lead form itself.
You can add fields, change their order, update labels and names, choose if a field is required, and tailor the form to your business needs.
Preview and Saving

In the final step, you can review the page, switch between views, and save it.
When you want to activate the landing page, you will be asked to choose a Custom Public Link. This is the address where the page will be available to partners and visitors.
After activation, you can also view the page, re-edit it, deactivate it, or link it directly to a new CPL campaign.
Step 3: Creating a CPL Campaign
Once the business and landing page are ready, go to Create Campaign.
On this screen, you can set up a CPA, CPC, or CPL campaign, but for a lead funnel, select Pay Per Lead (CPL).
Basic Campaign Settings
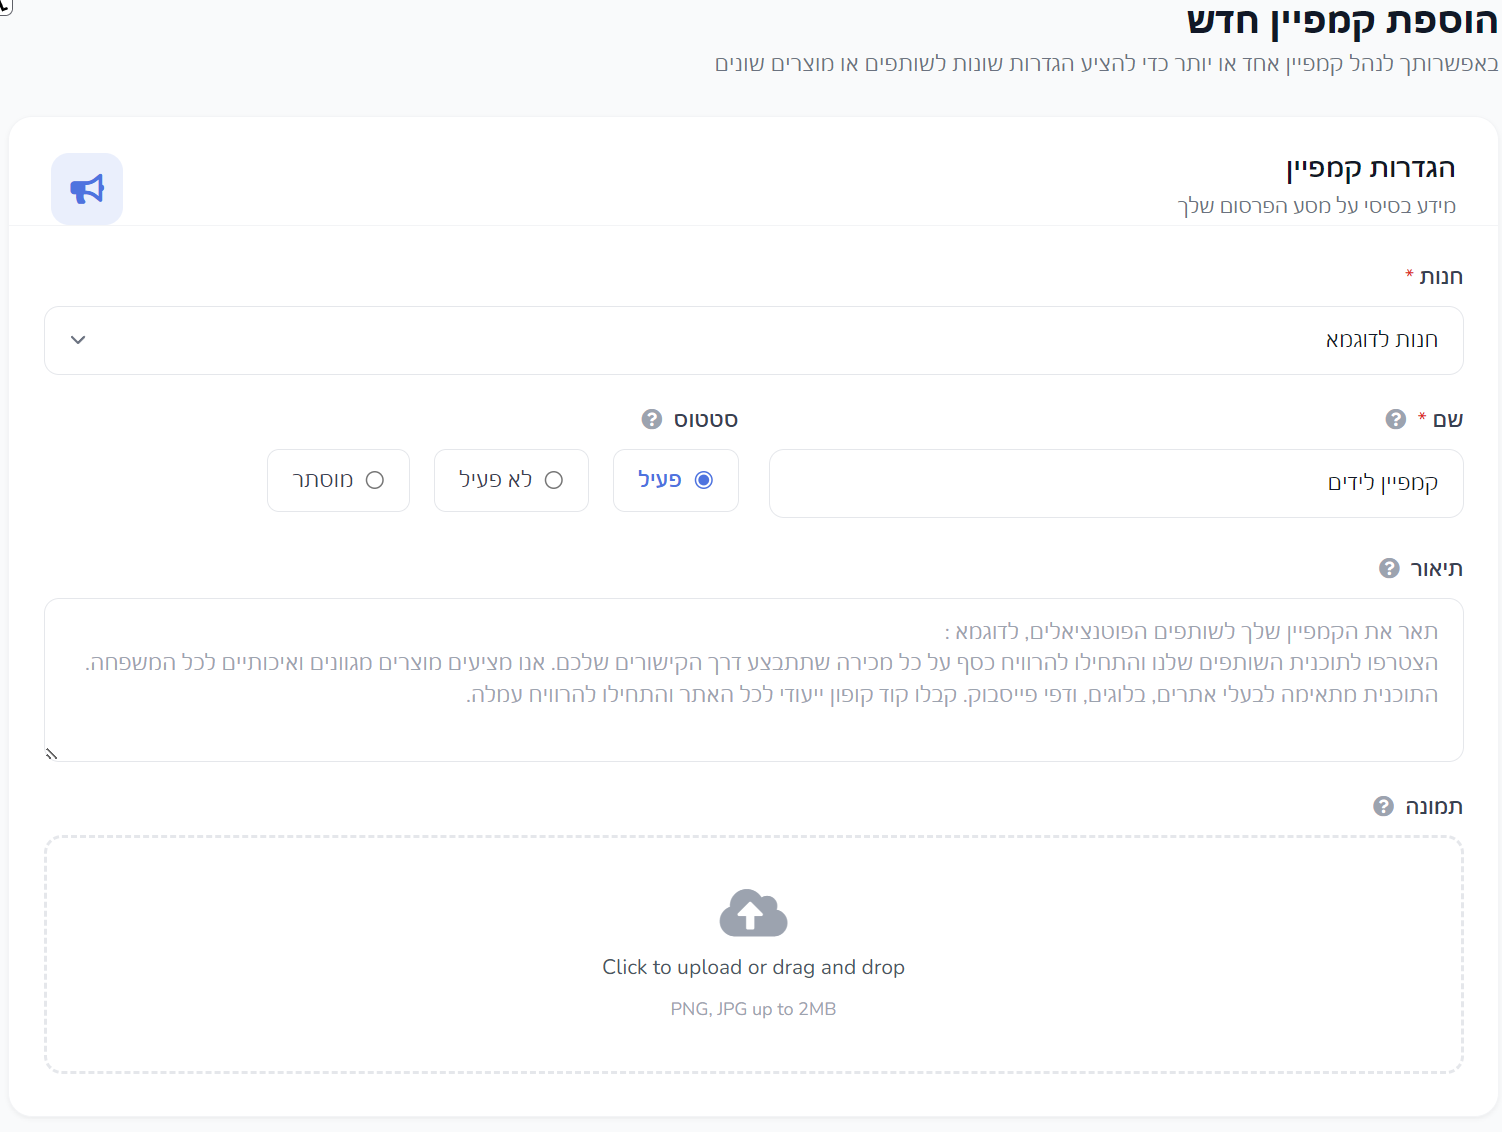
Business | Select the business the campaign belongs to. |
Name | The campaign name as it will appear to partners in the system. |
Status | You can choose whether the campaign is active, inactive, or hidden. |
Description | Explain to partners the value of the campaign and what they should know before joining. |
Image | You can upload a campaign image; if none is uploaded, the business branding will usually be displayed. |
Pay Per Lead (CPL)
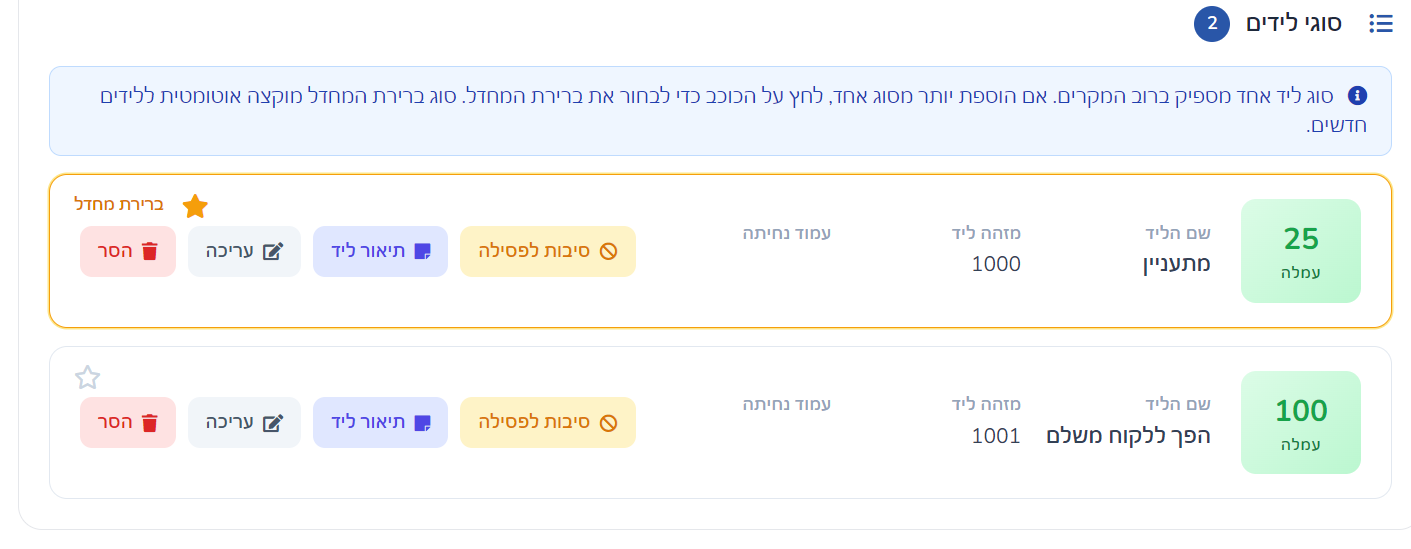
In the CPL model, you determine how much you will pay a partner for a valid lead.
You can stick to one lead type, but if your process involves several stages - such as form submission, starting a trial, or becoming a customer - you can define multiple lead types with a different commission for each.
CPL Commission | The amount paid to the partner per lead. |
Lead Name | An internal/displayed name explaining the lead type. |
Lead ID | A unique internal identifier for the lead type. |
Landing Page | You can select a landing page created in the system or manually enter an external URL. |
After adding lead types, you can also:
- Set which lead type is the default.
- Add a description of what constitutes a valid lead.
- Define common rejection reasons.
- View script instructions for the thank-you page.
- Update or pause a specific lead type.
Marketing Materials
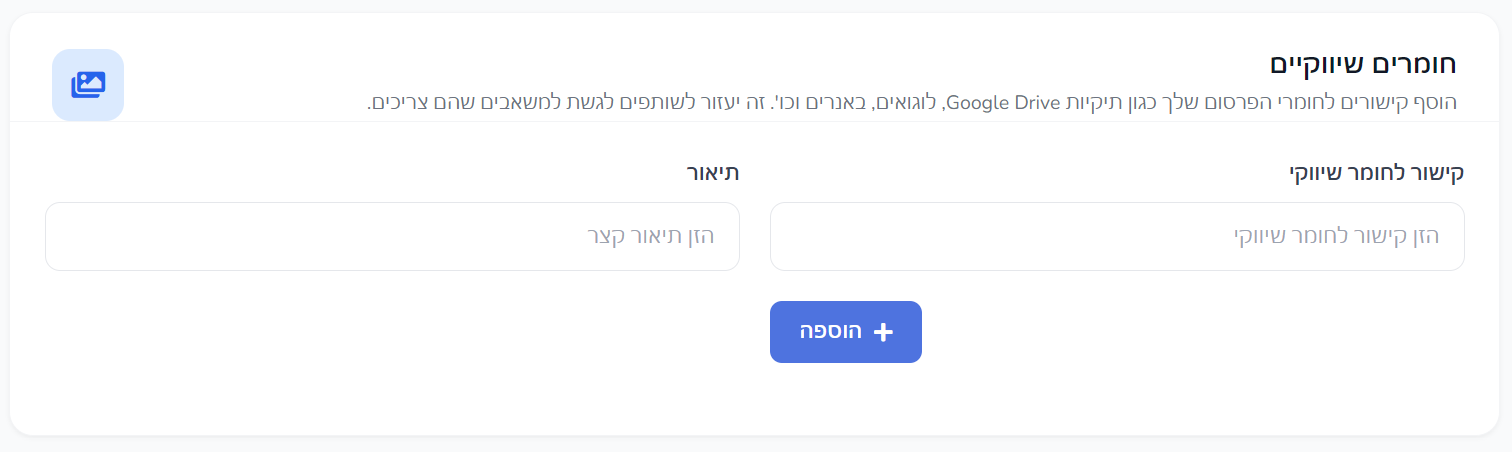
It is recommended to provide partners with links to marketing materials, such as a Drive folder, logos, creatives, banners, or branding documents.
This allows partners to start promoting the campaign quickly and consistently.
Campaign Partner Settings
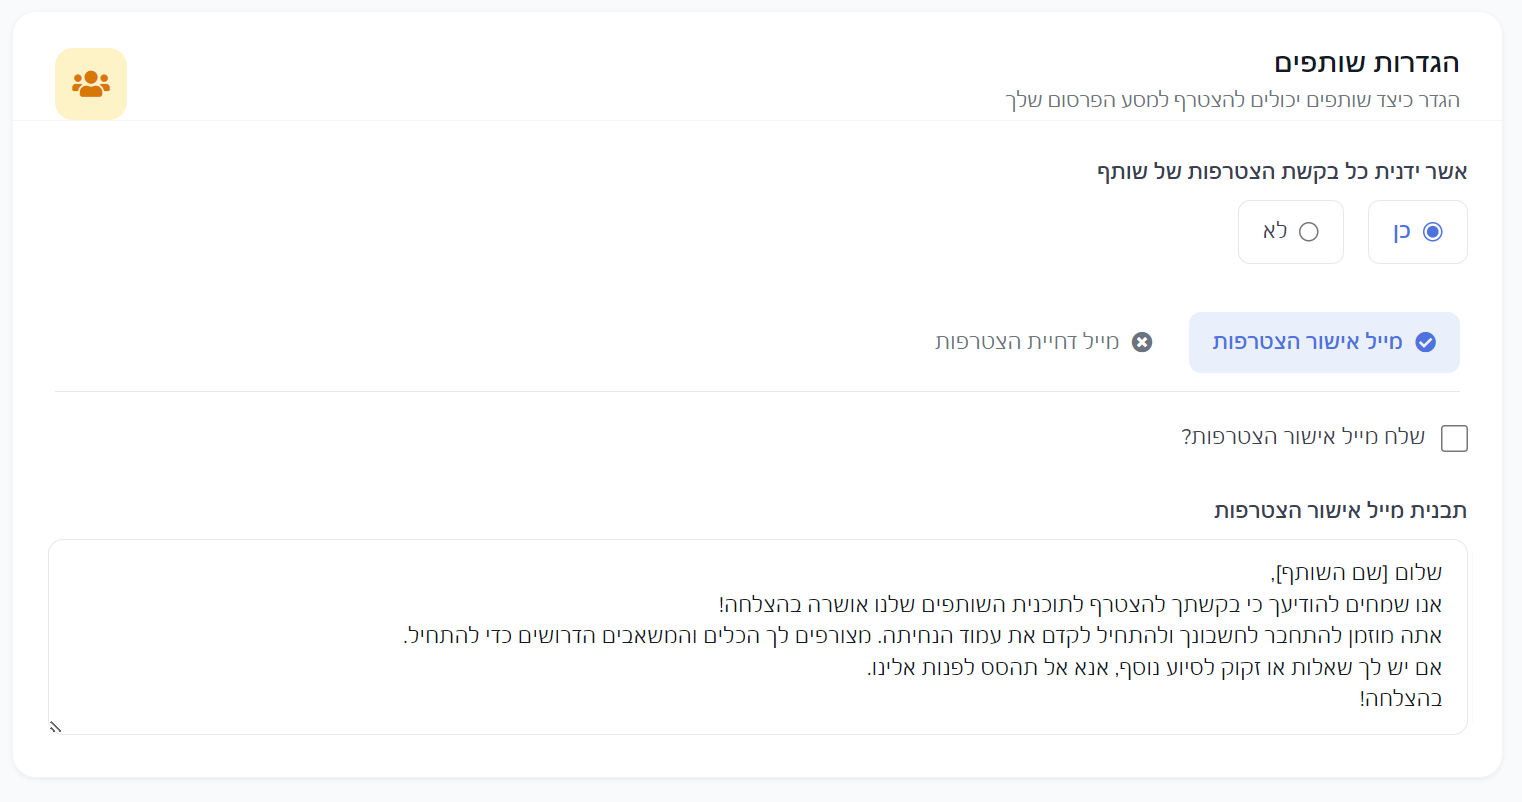
In this step, you determine how partners join the campaign.
You can choose whether every partner is accepted automatically or only after manual approval.
Additionally, you can define approval and rejection emails and edit the content sent in each case.
Terms and Restrictions
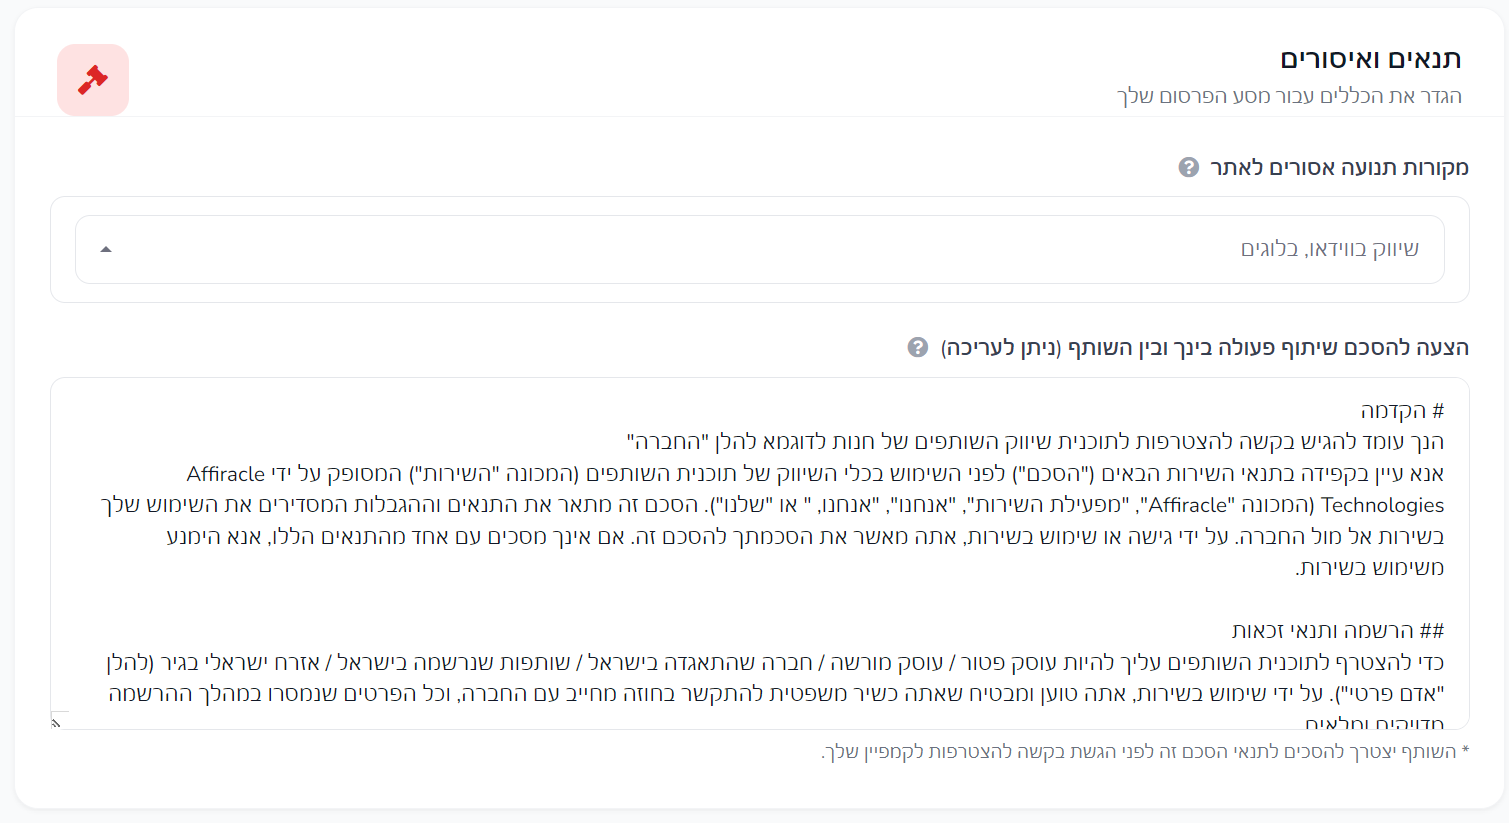
On this screen, you can define prohibited traffic sources and add or edit the cooperation agreement between the business and the partners.
This is the stage where it's recommended to clarify what is allowed, what is prohibited, and which rules apply to the campaign's promotion.
Finished your preparation? It's time to launch.
Active business + ready landing page = you're good to go. Click here to open a CPL campaign and start receiving leads from partners.
Create CPL Campaign ←